

How to Service Your Honda EU22i Inverter Generator

Posted by Mowercentre-Hampton Mower Centre on January 29, 2023
Keeping your Honda EU22i inverter generator well-serviced is the key to reliable performance and long engine life. Regular maintenance not only protects your investment but also ensures your generator is ready to deliver power when you need it most.
Before performing any maintenance, always turn off the engine and allow it to cool. This avoids serious hazards including:
Injury from moving parts – never service a running engine.
Carbon monoxide poisoning – ensure proper ventilation.
Burns – the engine and exhaust get extremely hot.
Always use Honda Genuine Parts. Using non-genuine or low-quality alternatives can cause damage to your generator and may void your warranty.
1 . CHANGING OIL
Drain the oil while the engine is still warm to assure rapid and complete draining. CAUTION: Make sure to turn the engine switch and the fuel filler cap vent lever to the OFF position before draining.
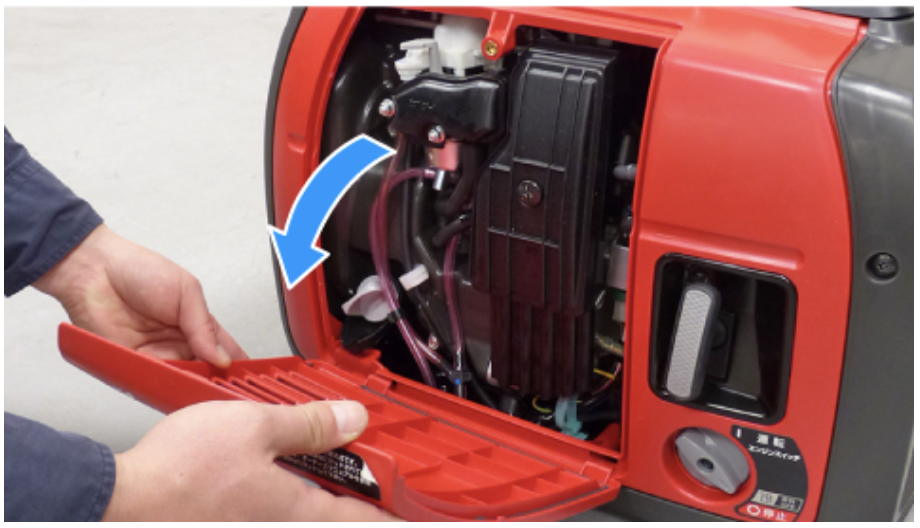
1. Loosen the maintenance cover screw and remove the maintenance cover.
2. Remove the oil filler cap.
3. Drain dirty oil into a suitable container thoroughly.
4. Refill with the recommended oil and check the oil level.
5. Wipe off all the spilled oil from the generator.
6. Reinstall the oil filler cap.
7. Reinstall the maintenance cover and tighten the maintenance cover screw securely.
ENGINE OIL CAPACITY: 0.44 L
2. AIR CLEANER SERVICE
A dirty air cleaner will restrict air flow to the carburetor. To prevent carburetor malfunction, service the air cleaner regularly. Service more frequently when operating the generator in extremely dusty areas.
1. Loosen the maintenance cover screw and remove the maintenance cover.
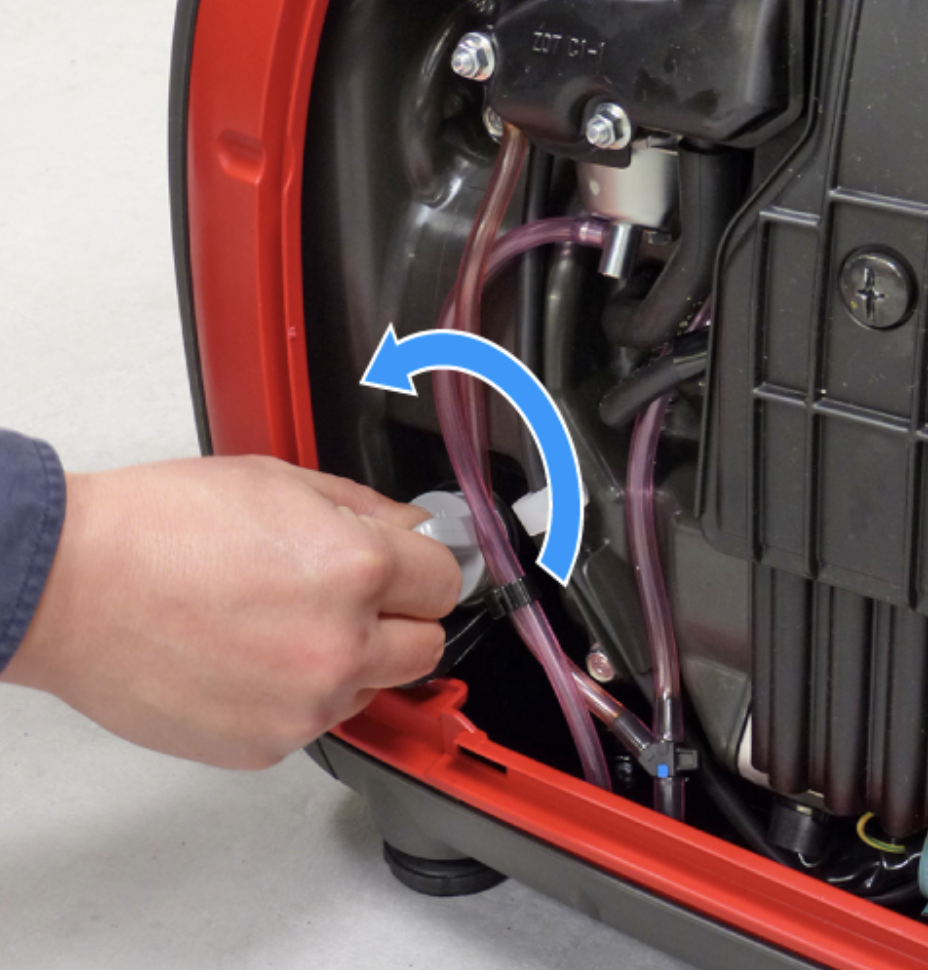
2. Loosen the air cleaner cover screw, and remove the air cleaner cover
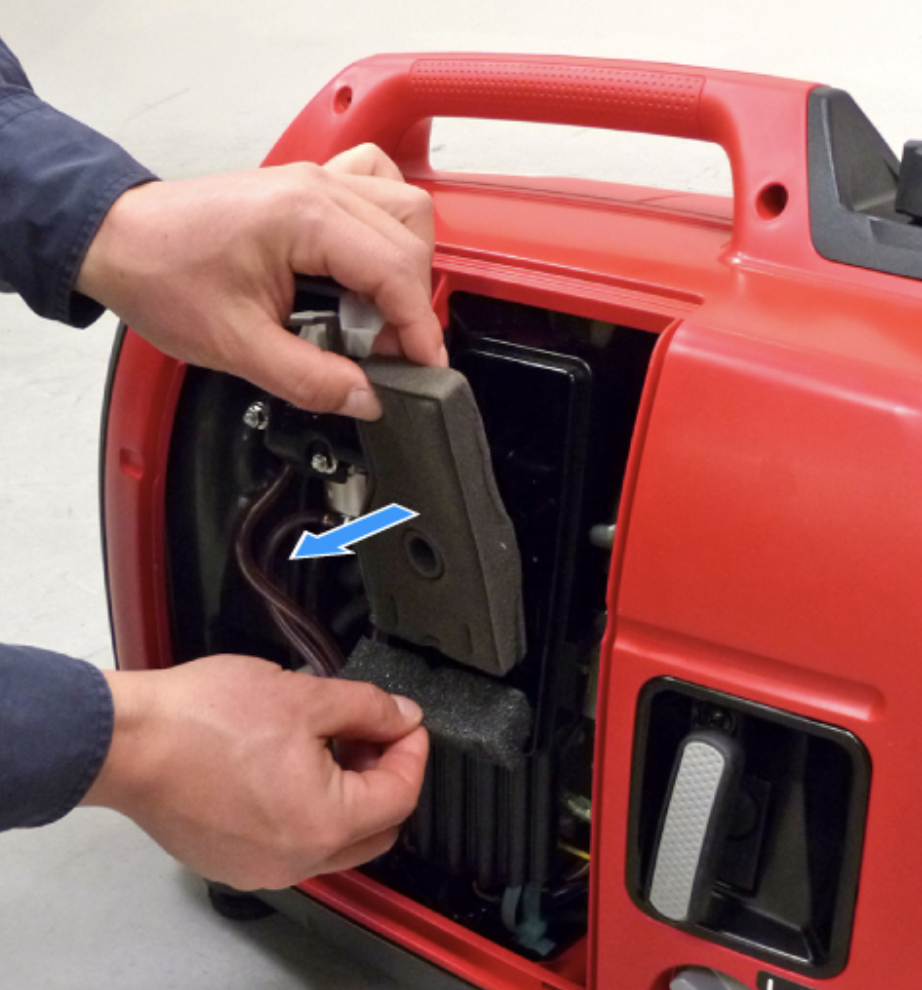
3. Clean in warm soapy water, rinse and allow to dry thoroughly, or clean in high flash point solvent and allow to dry. Dip the main and outer air cleaner elements in clean engine oil and squeeze out all the excess. The engine will smoke during initial startup if too much oil is left in the foam.
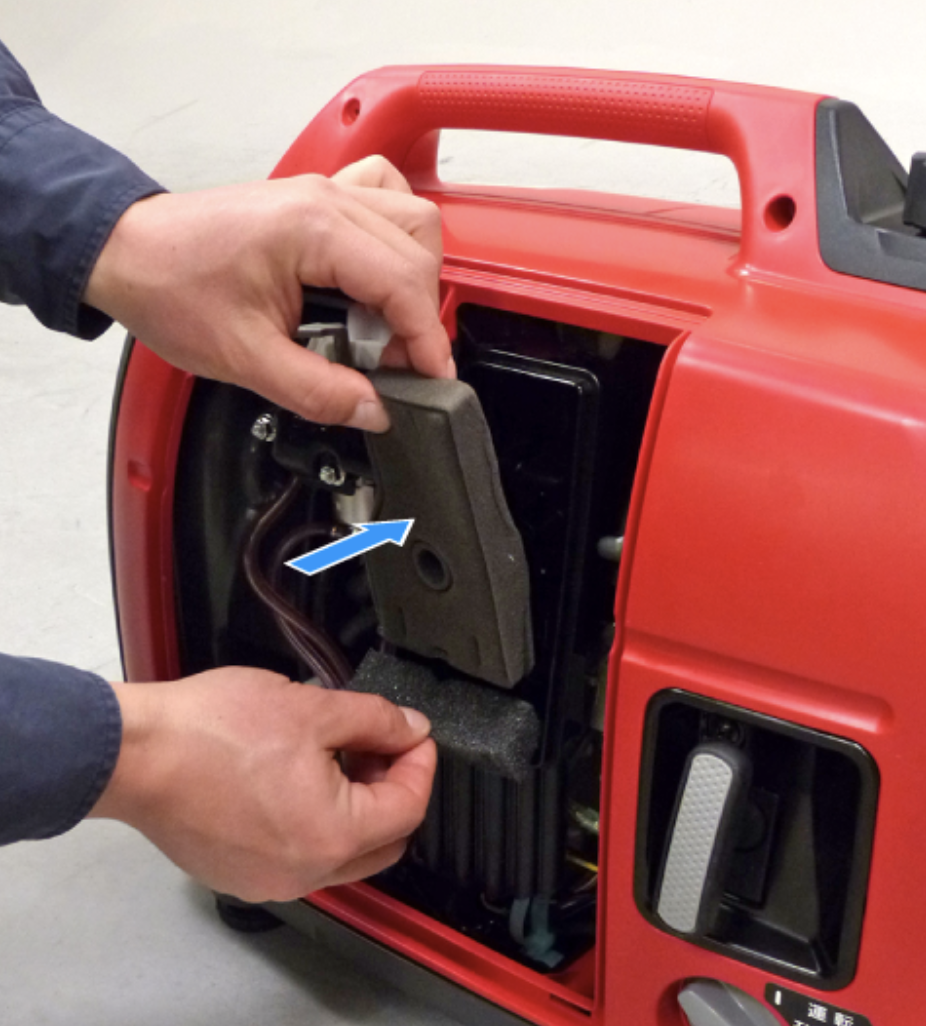
4. Reinstall the main and outer air cleaner elements and the air cleaner cover. Tighten the air cleaner cover screw securely.
5. Reinstall the maintenance cover and tighten the maintenance cover screw securely.
3. SPARK PLUG SERVICE
RECOMMENDED SPARK PLUG: CR5HSB (NGK)
To ensure proper engine operation, the spark plug must be properly gapped and free of deposits.
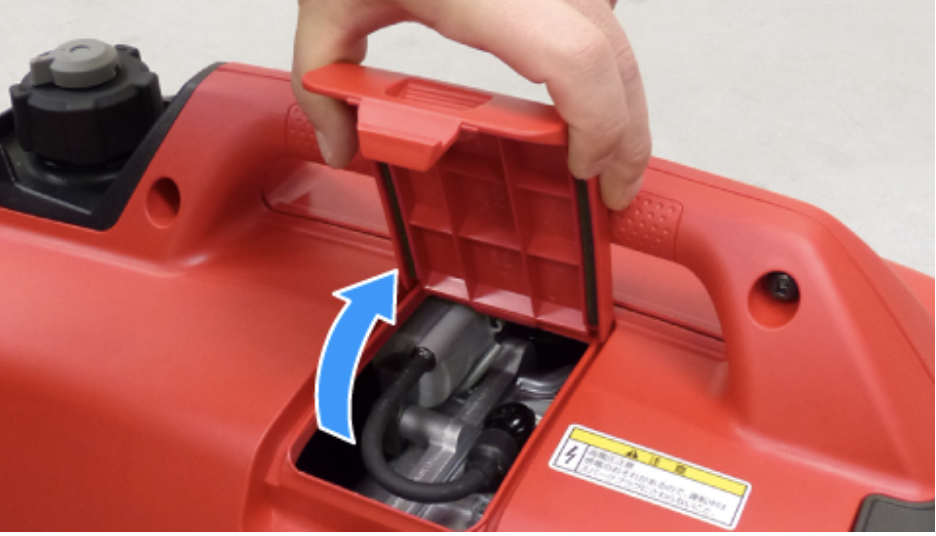
1. Remove the spark plug maintenance cover.
2. Remove the spark plug cap.
3. Clean any dirt from around the spark plug base.
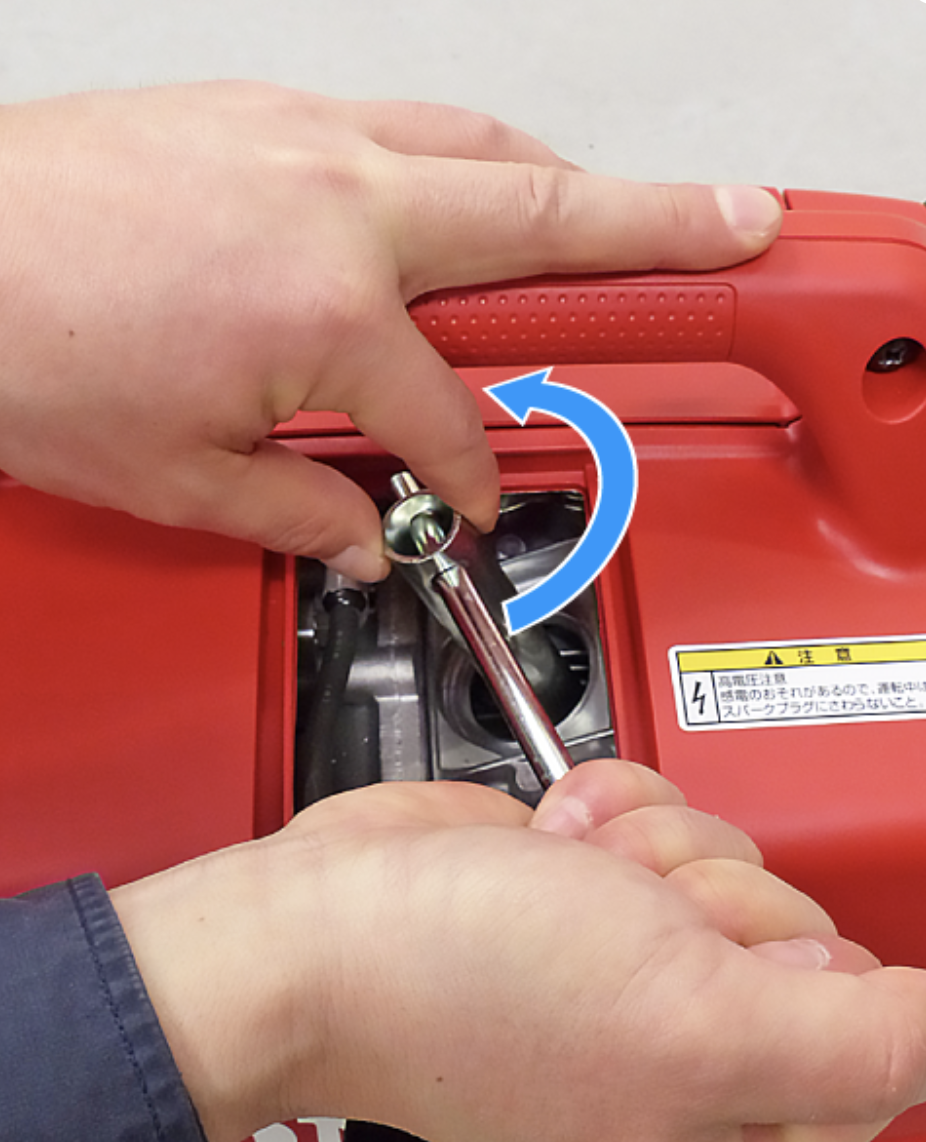
4. Use a spark plug wrench to remove the spark plug.
5. Visually inspect the spark plug. Discard it if the insulator is cracked, chipped, or fouled. Clean the spark plug with a wire brush if it is to be reused.
6. Measure the plug gap with a feeler gauge. Correct as necessary by carefully bending the side electrode. The gap should be: 0.6–0.7 mm (0.024–0.028 in)
7. Install the spark plug carefully by hand, to avoid cross-threading.
8. After a new spark plug has been seated by hand, it should be tightened 1/2 turn with a wrench to compress the sealing washer. If a used plug is being reinstalled, it should only require 1/8 to 1/4 turn after being seated.
9. Reinstall the spark plug cap on the spark plug securely.
10. Reinstall the spark plug maintenance cover
Honda EU22i Inverter Generator Maintenance Schedule

Share:


Copyright 2026 © Hampton Mower Centre. All right reserved.
